Tyrant Velhari Encounter Mechanics
Cheap WoW WOTLK Classic Gold
- Buy WoW Classic Gold at IGGM. 6% Off Coupon: vhpg. Awesome prices, instant delivery.
-
The first phase, Oppression, begins when players engage Velhari
-
The second phase, Contempt, begins when players have reduced Velhari to 70% health
-
The third phase, Malice, begins when players have reduced Velhari to 40% health
Phase Overview
Each phase has a similar structure: Velhari will use a Corrupt Power-generating ability three times to gain 3 charges of Corrupt Power, and will then spend those charges on one cast of a powerful spell.
Corrupt Power on boss frame
-
During Oppression, Velhari's Corrupt Power generator is
 Annihilating Strike, and her Corrupt Power spender is
  Infernal Tempest
 -
During Contempt, Velhari's Corrupt Power generator is
 Tainted Shadows, and her Corrupt Power spender is
  Font of Corruption
 -
During Malice, Velhari's Corrupt Power generator is
 Bulwark of the Tyrant, and her Corrupt Power spender is
  Gavel of the Tyrant

Velhari and the three Ancient protectors
-
The
 Aura of Oppression deals damage to players when they move
 -
The
 Aura of Contempt prevents players from being healed to full health
 -
The
 Aura of Malice increases the damage that players will take, but also increases the damage that players deal
-
At 90% health, Velhari summons an Ancient Enforcer
-
At 60% health, Velhari summons an Ancient Harbinger
-
At 30% health, Velhari summons an Ancient Sovereign
 Touch of Harm,
  Edict of Condemnation, and
  Seal of Decay.
Return to Table of Contents
Touch of Harm
Touch of Harm will afflict a random player with a shield that absorbs a large amount of incoming healing. The player can still take damage while affected by Touch of Harm, but their health pool cannot be restored until the Touch of Harm effect has been broken by absorbing enough healing, or dispelled.
-
Dispelling Touch of Harm will cause the debuff to jump to another player, but progress made on reducing the size of the absorption effect will be retained
-
Healers should cast their powerful single-target spells on the Touch of Harm targets to break the shell
-
Only dispel the Touch of Harm if the player affected will die before healers can break through the absorption shell
-
The player affected by Touch of Harm should avoid taking excessive damage when possible
-
Touch of Harm is first cast approximately 15 seconds into the fight, and every minute thereafter
-
Healers should try to remove the first Touch of Harm well before the second Touch of Harm is cast, so that they have time to heal up the other damage in the fight
Edict of Condemnation

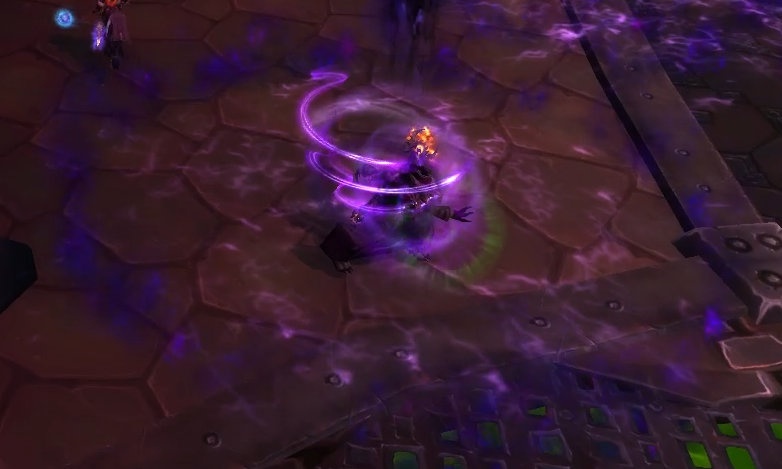
Edict of Condemnation at its smallest radius
Edict of Condemnation chooses a random player and summons a shadowy hammer above their head that slowly falls, dealing three pulses of extremely heavy damage.
-
The damage is shared amongst all players standing in the purple ring surrounding the Edict of Condemnation target
-
Each time the Edict of Condemnation deals damage, the subsequent tick will have a smaller radius
-
The Edict of Condemnation target should run to a prearranged stack point to assist the raid in splitting the damage
-
Raid cooldowns should be used to mitigate the damage from this ability, particularly in Phase 1 where heavy movement is penalized by Aura of Oppression
Seal of Decay
Tyrant Velhari's melee attacks have a chance to debuff her target with stacks of Seal of Decay, which reduces the tank's incoming healing and increases the amount of magic damage the tanks will take. This is a tank-swap mechanic, and tanks should be prepared to swap at 2-3 stacks. This is particularly important during Phase 2 where the Aura of Contempt prevents the tanks from being healed to full health.The abilities and strategies for each phase of the Tyrant Velhari fight are discussed in more detail below. Also note that additional mechanics are present on Heroic mode compared to Normal mode; these extra mechanics are discussed in the Heroic Difficulty section below.
Return to Table of Contents
Phases
Phase 1: Oppression
Several seconds into the fight, Tyrant Velhari will use Aura of Oppression, which causes players to take damage when they move. This damage starts out light, but increases by 10% every 5 seconds, so the longer players stay in this phase, the more dangerous movement will become.
-
The damage is based upon time spent moving and will tick every 0.5 seconds while a player is in motion
-
Players should minimize movement and use a damage-reduction cooldown if a large amount of movement is required
-
Heavy movement is still required for the Edict of Condemnation ability, and the raid will take heavy damage from Aura of Oppression during this time
-
Consider using a
 Stampeding Roar to help players position quickly for the Edict of Condemnation
 -
Players will take damage from moving into position, then from the three ticks of Edict of Condemnation, and again from spreading back out; use raid cooldowns to heal through this very dangerous part of the phase

Annihilating Strike's pre-warning
Annihilating Strike on random players. The targeted player will gain an arrow over their head, and then several seconds later, Velhari will face the player's current position to cast the cone effect.
-
Annihilating Strike deals heavy damage to players standing in the cone effect, and cannot be outranged
-
Additionally, any player struck by Annihilating Strike will summon a small
 Searing Blaze at their feet
 -
3 seconds later, the Searing Blaze will erupt in a geyser of flames, dealing moderate damage to players within 3 yards of it and knocking those players through the air
-
The player targeted by Annihilating Strike should move to a clear space to minimize the number of targets affected
-
Once the Searing Blaze forms, step just out of its graphical effect to avoid taking damage from it; do not over-move!
Annihilating Strike will occur while players are stacked for Edict of Condemnation. The player targeted by Annihilating Strike should move out quickly so that the entire raid is not struck by the cone damage and the Searing Blaze.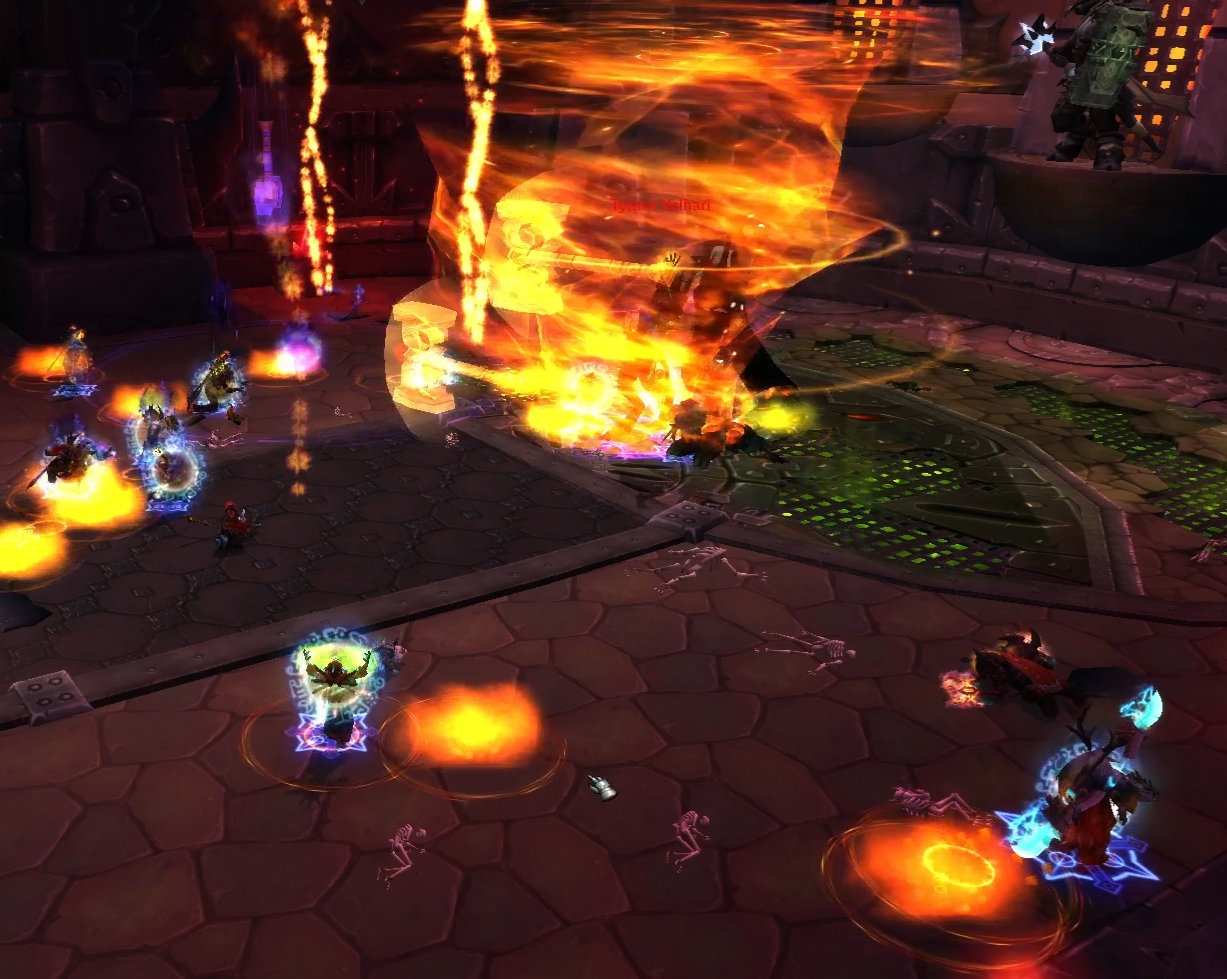
Minimize movement during Infernal Tempest
Annihilating Strike, Velhari will spend her Corrupt Power on Infernal Tempest.
-
Every 1.5 seconds for 6 seconds, Velhari will burn all players in the raid with Infernal Tempest
-
This damage splashes on to other players within 2 yards, so the melee DPS must be moderately spread out to avoid taking heavy damage
-
When a player is struck by Infernal Tempest, they will create a Searing Blazeat their feet
-
3 seconds later, the Searing Blaze will erupt in a geyser of flames, dealing moderate damage to players within 3 yards of it and knocking those players through the air
-
Every player will summon 4 Searing Blazes over the course of each Infernal Tempest
Infernal Tempest ticks every 1.5 seconds, but the Searing Blazes take 3 seconds to erupt, players can reduce the required movement during this mechanic by letting two Searing Blazes spawn on top of each other before moving out of them. Once out of the first set of two Searing Blazes, players can again stand still while the next two Searing Blazes form, and then move slightly out of this second set. The end result should deal very little Aura of Oppression damage and no Searing Blaze damage.
Avoid the Roaring Flames
 Enforcer's Onslaught, which summons a ball of Roaring Flames.
-
Roaring Flames spawn a few yards in front of the Ancient Enforcer, and will move in a straight line in the direction the Enforcer is facing
-
Once the Roaring Flames reach the end of their path, they will return to the Ancient Enforcer's original position
-
Players struck by the Roaring Flames will take heavy damage and create a Searing Blaze at their feet
-
The tank should face the Ancient Enforcer away from the raid, toward an open space where no players are standing, to reduce the chance that anyone will take Roaring Flames damage
-
Melee DPS can watch the Enforcer's cast bar to determine when this ability will occur and move out of the way of theRoaring Flames before they spawn
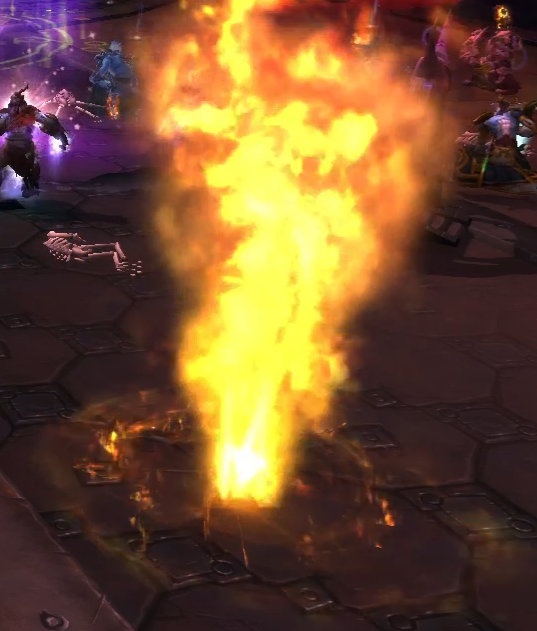
Searing Blaze eruption
This is particularly important because the third of Velhari's
Infernal Tempest casts will line up with her second Edict of Condemnation, at approximately 2 minutes into the fight. The raid should endeavor to push Velhari into Phase 2 before this confluence of abilities, as it is extremely dangerous and players are unlikely to survive without very powerful cooldowns. By largely ignoring the Enforcer, players should be able to push Velhari into Phase 2 in under 2 minutes without the use of
 Bloodlust/
 Heroism/
 Time Warp. If your spec gains single-target damage on Velhari by multi-DoTting, or if your spec has passive cleave that will not significantly reduce your damage on Velhari, feel free to use these abilities to whittle down the Enforcer's health.
Return to Table of Contents
Phase 2: Contempt
When Velhari reaches 70% health, she will clear the raid's Aura of Oppression and apply Aura of Contempt. This Aura prevents players from being healed to full health.
-
Initially, the Aura caps players' health at 80%, but every 13 seconds the cap reduces by 5%
-
So 13 seconds into the phase, players cannot be healed above 75%; 26 seconds in, they cannot be healed above 70%; and so on
-
Effective health via absorption effects or damage reduction cooldowns is very valuable in this phase
-
When possible, the raid should save cooldowns like
 Commanding Shout,
  Aura Mastery, and
  Power Word: Barrier for the Edict of Condemnation casts in Phase 2
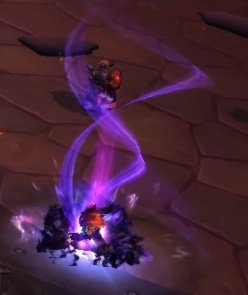
Tainted Shadow and Font of
Corruption share a graphic
Tainted Shadows on the current tank.
-
She casts Tainted Shadows three times to reach 3 charges of Corrupt Power
-
The targeted tank will take moderate Shadow damage from each cast
-
Additionally, Tainted Shadows will radiate Corrupted Blast damage onto players within 5 yards
-
Tanks should time their swaps around the Tainted Shadows attacks, which should help to manage Seal of Decay as well
Tainted Shadows, Velhari will spend her Corrupt Power by afflicting random players with Font of Corruption. This occurs every 20 seconds.
-
Players affected by Font of Corruption will take Tainted Shadows damage each time Tainted Shadows damage is dealt
-
These players are immune to Corrupted Blast damage, but can still affect other players with their own Corrupted Blast
-
The targeted players should stack in a designated location so that they can be efficiently healed with ground-based AoE
-
The designated location should be close enough to the Edict of Condemnation location that these players can assist in splitting its damage without splashing Corrupted Blast
 Harbinger's Mending, which will heal Velhari if the cast is successful.
-
Harbinger's Mending is a HoT effect that heals Velhari for 2% of her health immediately, and an additional 1% of her health each time the HoT ticks
-
If Harbinger's Mending is not interrupted, players with offensive dispels such as Purge can remove the HoT from Velhari
-
 Mortal Wounds and other heal-reduction effects present on Velhari will reduce the amount of healing dealt by a successful Harbinger's Mending cast
Return to Table of Contents
Phase 3: Malice
When Velhari reaches 40% health, she will clear the raid's Aura of Contempt and apply Aura of Malice. This Aura increases the damage each player deals, but also increases the damage that players will take, making this a burn phase.
-
When this occurs, players will be able to be healed to full health, but they will be very low, since losing the Aura of Contempt does not restore health
-
A throughput raid CD can be used here to quickly heal the raid back up in preparation for the Malice phase's mechanics
-
The Aura of Malice initially increases player damage by 10%, and increases damage taken by 20%
-
Each 5 seconds, these effects increase by 10%
Despoiled Ground
Bulwark of the Tyrant on the current tank and several other random players. Each player will take moderate Shadow damage, and a patch of  Despoiled Ground will form beneath their feet.
-
Despoiled Ground will deal moderate Shadow damage to players in its area of effect
-
These patches of Despoiled Ground will not despawn until Tyrant Velhari is dead, so players must use the encounter space wisely
-
At the start of this phase, players should loosely group up in one area of the room, moving each time the Despoiled Groundforms
-
Bulwark of the Tyrant/ Despoiled Ground occurs approximately every 10 seconds
-
Tanks should time their swaps around Bulwark of the Tyrant
Bulwark of the Tyrant, Velhari will spend her Corrupt Power by casting Gavel of the Tyrant. This is a raid-wide AoE ability that also knocks players back.
-
Initially, players will take a moderate hit of Fire damage and be knocked back
-
Players should position themselves so that the knockback does not push them into Despoiled Ground
-
Gavel of the Tyrant will then deal periodic Fire damage over eight seconds
-
Whenever Gavel of the Tyrant and Edict of Condemnation overlap, the raid should use strong cooldowns, and players should use personal CDs
-
Gavel of the Tyrant occurs approximately every 30 seconds

Sovereign's Ward
 Sovereign's Ward.
-
Sovereign's Ward reduces the damage Velhari takes by 90% for 20 seconds
-
After the Sovereign's Ward effect ends, the Ancient Sovereign will recast it almost immediately, allowing players little to no time to actually damage Velhari
-
Sovereign's Ward will be removed if the Ancient Sovereign dies
-
Players should prioritize killing the Ancient Sovereign quickly